Wednesday, October 24, 2012

Pumpkin Lanterns

I wanted to make hanging lanterns for our big tree in the backyard, and originally I thought of using mason jars.  The more I thought about it though, the more I realized that I wanted to make the lanterns be jack o lanterns that were hanging in the trees to be a festive addition to the party.  Because I knew I would be painting the jars, I was a little hesitant to use any of the nice Kerr and Ball mason jars that we had from the wedding (besides most of them are getting used for another project...).  Then I realized how many glass jars I had been saving to use in my craft room as storage for craft supplies, and knew that they could be put to perfect use for our Halloween party.

The project supply list is short and sweet:
-Glass jars (I used empty salsa, spaghetti sauce, and pickle jars)
-Orange acrylic paint
-Black permanent marker
-Wire if you want to hang them

Start by peeling off all of the jar labels and giving them a good clean.


Apply paint to the inside of the jar around the top.


Use a paint brush to spread the paint around the inside of the jar.  I tried using a brush full of paint and then painting the jar, but found the method of applying paint first to be easier.  I also found that tipping the jar upside down helped to reach the hard to get spots on right below the top of the jar.


The nice part of painting the inside is that there is no wait time between painting and drawing on the face ;)  Use a permanent marker and create spooky, scary, or happy faces for your pumpkin lanterns.  And if you run out of ideas search the internet for Jack o Lanterns and get inspiration from the faces others have cut out!


Here is my crew of pumpkin lanterns.  I love that there are different shapes and sizes and the unique look each has from the way the paint dried, the amount of paint used, and the different  faces they all have :)  I am really excited to see them lit up for the party of Friday!


Are you up to any fun holiday crafts right now?

Monday, October 8, 2012

Thrifted Kitchen Counter Table

Happy Monday!  I have a really exciting project to share that the hubby and I completed this weekend. It was a pretty relaxed weekend in the Calef house and on Saturday we stopped by a local flea market to look around.  It is one of our favorite lazy day activities, and since I wasn't feeling super great on Saturday we thought it was the perfect low key activity :)  

Within a minute of walking in I had found the counter height table I had been looking for since we moved into the house!  And it came with two stools that I desperately needed for the craft room so I looked the purchase as a win :)  $60 for all three pieces!


Since I had been looking for it since we moved in I had several inspiration pieces pinned on my Pinterest boards:

I fell in love with this island from World Market back in the spring.  They no longer carry it (sad day!), but as you can tell from the finished project it was my inspiration piece.

This beautiful furniture redo from Juniper Hill Antiques

A pretty dresser repurposed for the kitchen

This pretty island featured in Southern Living
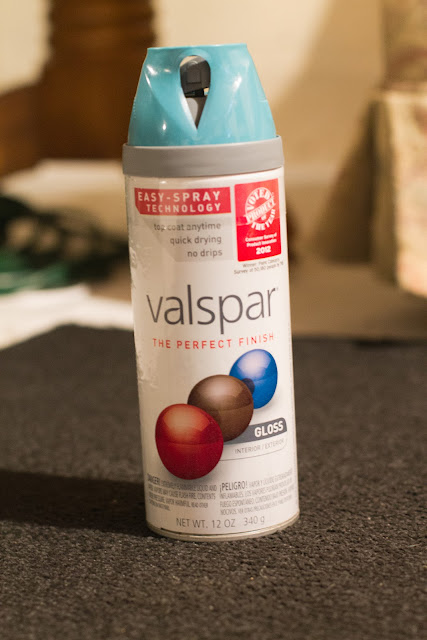
First step was to remove the hardware from the table and proceed to sand and then clean.  After cleaning away all of the dust I sprayed the bottom a beautiful turquoise blue from Valspar.


We wanted the top to have the look of butcher block without the cost so we picked up 5 pieces of $.99 faux wood laminate.  It is the type that you just peel and stick, but we knew it wouldn't adhere the best to the curved edges so I quickly painted the edges with leftover dark brown paint from the hutch remodel.


After the paint dried we stuck the faux wood tiles in place and placed the new table into the kitchen. It brings color and functional counter space to the room :)  


Did you complete any fun DIY projects this weekend?

Followers