So remember back at the beginning of January when I made the commitment to blog more... yeah about that. Sorry it has been a month since I've blogged and shown you some of the projects I have been working on in our house :( My bad. I also said that I would show you guys the remake of a file cabinet when we finished it, so this post is going to be that unveiling!
Cameron and I were driving around looking at houses for rent one day when we happened upon two file cabinets sitting on the side of the road with a big sign stating "FREE", and I immediately told him to pull over so I could take them home and have some fun. Almost a year ago I found a tutorial on-line for updating file cabinets by covering them in fabric, but at the time I was planning the wedding and was busy enough with projects for it, that I did not give much more thought to trying it out. Now that I am what seems like constantly in the mode of trying to make our house more homey and "us" I thought I would give it a try for our office/ guest bedroom.
When we got the two file cabinets home we discovered that only one of them was in good enough condition to cover and use, but there were aspects of the "bad" one that I wanted to use on our final product, so I stole the handles label plates from the unusable cabinet before we pitched it.
Here is the file cabinet at the beginning of the project:
Not the prettiest thing at first, but I really needed a file cabinet for work paperwork so I was determined to make it look fabulous :)
We started by picking out a fabric that we wanted for the front door panels and then moved on to picking out a spray paint that coordinated with the fabric. Here are a few fabrics we looked at:
Ultimately though we chose this one:
We really liked the neutral background with the pop of purple. The weight of the fabric is also really important, because if it is too thick the doors will not shut properly so take that in to consideration when choosing a fabric. We decided to make the purple in the fabric pop by picking a purple spray paint. With spray paint and fabric in hand we entered in to the project.
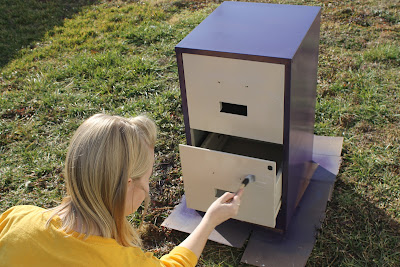
I started by covering the doors of the file cabinet (all of the old wedding magazines are finding another purpose).
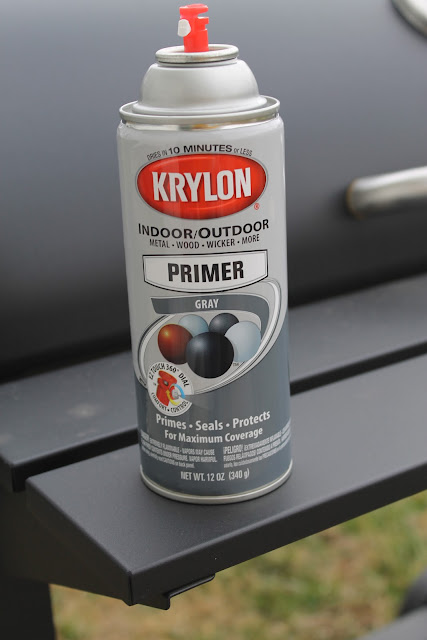
After covering the doors we used a gray primer followed by the purple spray paint.
I really like Krylon spray paint. The coverage and consistency are good in my book :)
Once the spray paint was dried, we moved on to covering the doors with the fabric. But first the hubby drilled holes for the handles I stole from unusable file cabinet. We just measured a few inches up from the space where we were adding the door labels and centered the handle between each of the sides.
I used a recipe for homemade modge podge from pinterest, roughed up the doors with a light sanding, and went to work.
*Side note: I mixed my modge podge in an empty mason jar which has worked perfectly :) *
It is not a clean process by any means so I recommend doing it outside and being willing to get your hands sticky. I applied a liberal base coat of modge podge, laid the fabric down, smoothed out the bumps, and applied a liberal top coat. On the edges I made a crease coming out from the corner, folded the fabric all to one side, and applied more modge podge (and held it in place for a bit) to get the corners to lay as flat as possible.
And here is the finished project:
Up close shot of the handles and labels along with a good look at the fabric. I love the little gold dots on the neutral background.
It is a fun addition to the guest bedroom/office, and it has provided the storage I need for paperwork while also fulfilling the role of end table for our guests :)


